
Website Redesign Workflow for Better Ecommerce Success
- Ekaterina WebcityX

- Feb 21
- 10 min read
Updated: Feb 23

Struggling to pinpoint why your ecommerce website feels outdated or lags behind competitors? For many business owners on platforms like Wix, small missteps in user flow or slow mobile pages quickly lead to lost sales. Taking time to assess current performance and set measurable redesign goals prevents wasted resources and keeps your team focused on what truly grows revenue. This guide makes it easier to plan every step, so your website works smarter for your business.
Table of Contents
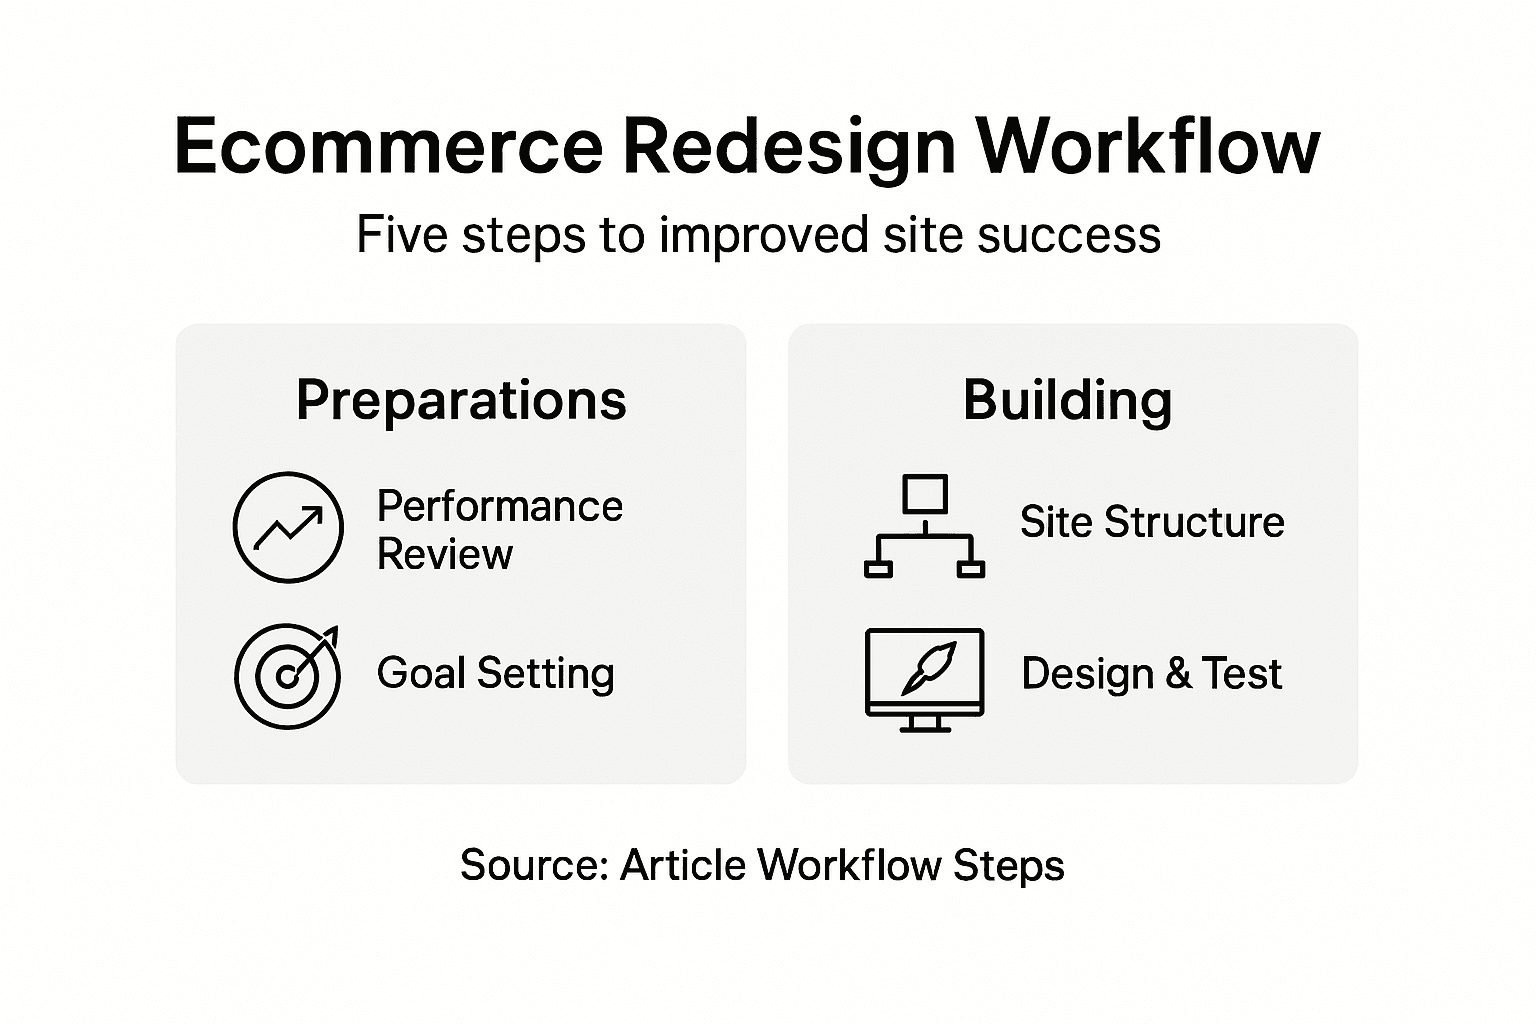
Quick Summary
Key Takeaway | Explanation |
1. Analyze Performance Data | Gather metrics on conversion rates, load times, and user engagement to identify strengths and weaknesses of your site. |
2. Set Specific Redesign Goals | Define clear, measurable objectives like increasing mobile conversions by 20% to focus your redesign efforts effectively. |
3. Structure the User Journey | Create user personas and map content to ensure intuitive navigation that leads customers smoothly toward their goals. |
4. Thoroughly Test Before Launch | Conduct functional tests across devices and gather user feedback to catch issues and optimize before going live. |
5. Monitor Post-Launch Performance | Track key metrics for at least 30 days to assess site performance and make necessary adjustments based on actual user behavior. |
Step 1: Assess Current Site Performance and Set Goals
Before you redesign your site, you need to understand what’s working and what’s not. This step involves analyzing your current performance data and defining clear, measurable goals that align with your business objectives.
Start by gathering performance metrics that reveal how your site actually performs. Look at these key areas:
Mobile conversion rates and how visitors interact on different devices
Load times and page speed across the site
Navigation clarity and whether visitors can find what they need
User engagement metrics like bounce rate and time on page
SEO health including your current rankings and organic traffic
Mobile usability and conversion rates directly impact your bottom line, especially for ecommerce businesses. When customers struggle to navigate or wait for pages to load on their phones, they leave. That’s lost revenue.
Next, identify your primary business challenge. Are you trying to increase conversions? Improve customer findability through search engines? Fix compliance issues? Your biggest pain point becomes your primary redesign goal.
Set goals that are specific and measurable. “Increase revenue” is too vague. “Increase mobile checkout conversions by 20% within six months” gives you something to track and achieve.
Benchmark against competitors too. What are similar ecommerce sites doing better? This helps you understand what’s possible and where you’re falling behind in user experience or functionality.
Create a list of 3 to 5 main goals. Prioritize them by business impact. This prevents scope creep later and keeps your team focused on what matters most. Goals that are realistic and aligned with your current business needs will drive measurable improvements without overwhelming your redesign project.
Here’s how common website redesign goals impact your business:
Redesign Goal | Main Benefit | Example Metric to Improve |
Boost mobile conversions | Higher revenue from mobile users | Mobile checkout completion |
Speed up load times | Better user retention | Average page load seconds |
Simplify navigation | Smoother customer journey | Pages per session |
Raise SEO performance | Increased organic traffic | Search rankings |
Lower bounce rate | More engaged site visitors | Bounce rate percentage |
Pro tip: Document your current metrics in a simple spreadsheet before starting the redesign. You’ll use these baseline numbers to measure success and prove ROI to your team or stakeholders after launch.
Step 2: Plan Site Structure and User Flow
Your site structure is the backbone of user experience. A well-organized site helps customers find what they need quickly, which directly boosts conversions and reduces frustration.

Start by understanding your visitors. Create simple user personas that represent your typical customers. What are they looking for? How do they think about your products or services? A persona might be “Sarah, a busy mom searching for gift ideas under budget” or “Marcus, a business owner comparing software solutions.”
With your personas in mind, map out your content strategically. This means deciding which pages you actually need and how they connect to each other. Visitor-centric content mapping ensures every page serves a purpose and guides customers toward their goals.
Next, outline your sitemap. Think of it as a blueprint showing all your pages and how they relate. For an ecommerce site, this typically includes:
Home page and key category pages
Product pages and collection pages
Account and checkout pages
About, contact, and support pages
Blog or resource section (if applicable)
Eliminate pages that don’t add value. That old press release page from 2019? Gone. The outdated team photo gallery? Remove it. Fewer, purposeful pages create clearer pathways for visitors.
Now design the user journey. Trace the path a customer takes from landing on your site to completing a purchase. Where might they get confused? Are there too many clicks to checkout? Can they easily contact support? Map these flows so nothing feels clunky or frustrating.
Involve your whole team in this planning phase. Designers, developers, and marketers see different challenges. Their combined perspective creates a stronger, more practical structure.
Test your proposed structure with a few real customers if possible. Ask them to find specific products or information. You’ll spot navigation issues before design even begins.
Pro tip: Use a simple wireframing tool or even paper sketches to visualize your structure before diving into design. This saves hours of revision work later when changes are expensive and time-consuming.
Step 3: Design and Build on Wix or Wix Studio
Now it’s time to bring your site to life. Whether you’re using Wix or Wix Studio, you’ll translate your structure and goals into an actual, functioning ecommerce site. Both platforms offer powerful tools, but they serve different needs.
Choose your platform based on your complexity and control needs. Wix is user-friendly and ideal for small businesses wanting a fast, professionally designed site. Wix Studio offers advanced customization for those needing deeper design control and developer flexibility. Think about your team’s technical skills and your long-term growth plans when deciding.
Here’s a comparison of Wix and Wix Studio for ecommerce redesign:
Platform | Best For | Key Advantage | Limitation |
Wix | Small to mid-sized businesses | Easy-to-use templates | Limited advanced customization |
Wix Studio | Growing or complex businesses | Full design flexibility | Requires more technical skills |
Start by selecting a professional template or blank canvas that matches your brand style. Don’t overthink this choice; you’ll customize everything anyway. Focus on templates that support your core business model, whether that’s showcasing products, accepting payments, or scheduling services.
Build your pages methodically. Create one page at a time, starting with your most important pages: home, product pages, and checkout. Here’s a practical workflow:
Design the visual layout first (header, navigation, footer)
Add and structure your content (text, images, calls to action)
Set up forms, buttons, and interactive elements
Test functionality on mobile and desktop
Optimize images and ensure fast loading
Make sure your design works beautifully on phones, tablets, and desktops. Responsive design isn’t optional for ecommerce anymore; most of your visitors are on mobile devices. Test everything on actual phones, not just your browser’s mobile view.
Build with your customer in mind. Every button, every form field, every image serves the visitor’s goal of learning about and buying from you. Remove anything that doesn’t contribute to that mission.
Integrate essential tools as you build. Connect your payment processor, set up email notifications, enable customer accounts, and configure shipping calculators. These aren’t afterthoughts; they’re core to the user experience.
Pro tip: Work on a staging site or draft version while you build, never on your live site. This lets you test thoroughly without disrupting current customers. Only publish when everything is polished and tested.
Step 4: Test, Review, and Optimize Site Functionality
Before you launch, your site needs rigorous testing. A broken checkout button or slow product page will cost you sales. This step ensures everything works smoothly for your customers.
Start with functional testing. Click every button, fill every form, and complete a test purchase. Navigate through your entire site as if you’re a real customer. Try adding items to cart, applying discount codes, and going through checkout. Document any errors or confusing moments.
Test on multiple devices and browsers. Your site might work perfectly on your laptop but break on an iPhone or older Android device. Use real phones when possible, not just browser simulators. Test on Chrome, Safari, Firefox, and Edge to catch compatibility issues.
Check these critical areas:
Payment processing and transaction confirmation
Mobile responsiveness across different screen sizes
Form submissions and error messages
Product search and filtering functionality
Page load speeds and image optimization
Link functionality and redirects
Email notifications to customers
Ask real people to test your site. Recruit a few customers or friends to explore without instructions. Watch where they struggle. Web design directly impacts engagement and conversions, so user feedback is invaluable for identifying issues you’d miss alone.
Optimize performance based on what you learn. Fast loading speeds matter enormously for both user experience and search rankings. Compress images, minimize code, and enable caching. A site that takes 4 seconds to load will lose customers compared to one that loads in 2 seconds.
Launch slowly if possible. Start with existing customers or a limited audience, gather feedback, and fix issues before going fully public. This reduces risk and improves your final launch.
Set up monitoring tools after you go live. Track which pages load slowly, where visitors drop off, and what errors occur. This data helps you keep optimizing.
Pro tip: Create a simple testing checklist before launch and assign someone to verify every item. Have them sign off on each category (functionality, mobile, performance, content) before you flip the switch to live.
Step 5: Launch and Monitor Post-Redesign Success
Your redesign is live. Now comes the critical work of monitoring performance and ensuring your redesign delivers the results you planned for. The first weeks reveal how well your new site actually performs.
Before launch day, prepare your team. Assign someone to monitor customer emails and support messages for any issues. Have a developer on standby for urgent fixes. Alert your email list and social media followers about the new site. Consider offering a small incentive like free shipping to encourage customers to check it out and provide feedback.
On launch day, monitor everything closely. Watch your analytics dashboard for traffic patterns and any unusual spikes or drops. Track your key metrics from day one. Are people actually completing purchases? Are they staying longer than before? Is mobile traffic converting better?
Focus on these critical metrics after launch:
Conversion rate compared to your baseline
Average session duration and bounce rate
Mobile vs desktop performance
Page load times across the site
Cart abandonment rate at checkout
Customer support inquiries related to site functionality
Collect feedback actively. Email new visitors asking what they think. Monitor social media mentions. Read customer reviews. Early feedback helps you identify and fix problems quickly before they impact more people.
Expect to discover issues and opportunities you didn’t anticipate. That’s normal. Make a prioritized list of improvements and address the highest impact items first. Small fixes compound into significantly better performance.
Monitor for at least 30 days before declaring success. One week of good metrics might be luck. 30 days shows real, sustainable improvement. Use this period to optimize based on actual user behavior, not assumptions.
Schedule regular reviews with your team. Weekly for the first month, then monthly afterward. Compare actual results against your original goals. Document what worked and what didn’t for future reference.
Pro tip: Set up automated alerts in your analytics platform to notify you immediately if conversion rate drops significantly or site speed degrades. This lets you catch and fix problems within hours instead of days.
Achieve Ecommerce Excellence with Expert Website Redesign Support
Redesigning a website to boost ecommerce success can feel overwhelming when facing challenges like low mobile conversions, slow load times, or complicated navigation. This article highlights crucial goals such as improving mobile checkout completion and streamlining user flow to create a smoother customer journey. If these pain points sound familiar, you are not alone in wanting a site that truly performs across all devices and drives measurable results.

Take control of your ecommerce future today by partnering with a dedicated web design agency that specializes in modern responsive website design, SEO, and technical support for Wix and Wix Studio platforms. At WebCityX, we understand the importance of setting clear redesign goals and building seamless user experiences that convert. Explore how our expertise can help you accelerate your ecommerce growth with a site tailored to your business needs. Get started now and see real improvements by visiting our main landing page.
Frequently Asked Questions
How do I assess my current site performance before a redesign?
Start by gathering performance metrics such as mobile conversion rates, load times, navigation clarity, user engagement metrics, and SEO health. Document these numbers to set a baseline for measuring improvements after the redesign.
What goals should I set for my ecommerce website redesign?
Set specific and measurable goals that align with your business objectives, such as increasing mobile checkout conversions by 20% within six months. Prioritize these goals by business impact to maintain focus throughout the redesign process.
What steps should I take to plan my site structure for better user flow?
Create user personas to understand your visitors and their needs. Then, map out your site structure and content strategically to ensure every page serves a purpose and guides users toward their goals.
How can I ensure my new ecommerce site functions properly before launching?
Perform thorough functional testing, including checking every button, form, and checkout process. Test on multiple devices and browsers to identify compatibility issues, and optimize performance based on your findings before going live.
What key metrics should I monitor after launching my redesigned site?
Focus on critical metrics such as conversion rate, average session duration, mobile performance, page load times, and cart abandonment rate. Track these metrics for at least 30 days to assess the redesign’s success and make necessary adjustments.
How can I gather customer feedback on my new site?
Encourage feedback by reaching out to new visitors via email surveys or monitoring social media mentions. Actively seek insights on their experience, which will help you identify any issues and improve the site further.
Recommended

Comments